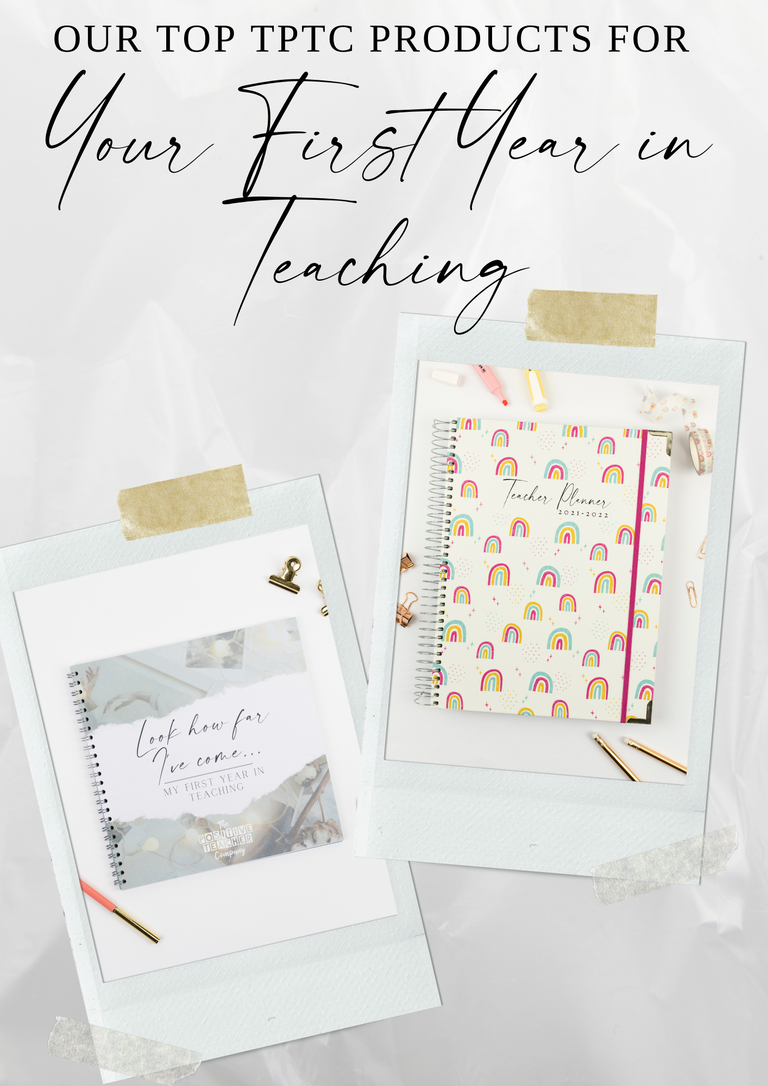
------

Hello everyone,
I thought I would start my #mytptctips week off with the lovely Taylor over at @misscsclassroom92 who is going to share how she goes about creating her teacher tool box labels.
I’ve never really had a home office, but I have thoroughly enjoyed tweaking all the things I have to create a pretty, little office space. I really wanted to create an organised space, to make working from home run as smoothly as possible. As a self-confessed stationery addict, I needed (wanted) an organised space to keep everything. Something I’ve always wanted to create is a teacher toolbox; I’ve seen so many amazing examples on Instagram and Pinterest, however most of them were from America. Thus, began hours of scrolling through the internet, trying to find the perfect toolbox. I only have quite a small desk at home and school (I plan on taking this back to school once we resume normality!). I found this toolbox on Amazon, it was reasonably priced, small and white (always a bonus - saves on spray paint!).

Once this toolbox arrived, I decided to create my own labels for it. These labels are readily available online. However, I couldn’t find any to match/ I didn’t want to pay to download any, therefore, I decided to create my own labels, using Microsoft Word. I was pleasantly surprised at how simple the process was.
I began by measuring the length and width of both drawers,

Once you’ve created your label, open it in a new document and copy and paste how many labels you need, I then decided to copy and paste a pretty background into my labels (I found an image on google).


Repeat these steps, to create the labels for all your drawers, just make sure all your measurements are correct.
Top Tips:
- Making the text boxes the same size as your labels helps all your text be in the same place.
- Align the text in the text boxes, this also helps make all the writing in the same position.
All that is left to do, is cut your labels out and stick them into your toolbox,
I hope you have found this guide useful.
Stay safe everyone.